How To Draw Albert
![]()
![]()
![]()
![]()
![]()
How To Draw Albert |
The following is an easy-to-follow guided drawing lesson. Please begin your drawing in the upper right-hand corner of the paper. |
X | |||
| 1. Begin with the letter "V" on its side
|
2. Add a smile line down the center of the "V".
|
3. Connect the straight lines with little curves.
|
4. Draw a gentle curve at the top and one at the bottom.
|
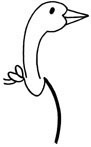
5. Add an eye.
|
|
 6. Beginning at the top of Albert’s head, draw a long curved line for his neck. |
 7. From the bottom curve draw the other side of his neck. |
 8. Draw the letter "U" around his neck. This is the top of his apron. |
 9. Now, "tie the apron" by drawing two loops and two little straight lines for strings. |
 10. Draw a soft curve for the front of his big duck tummy. |
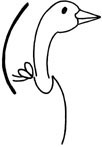 11. Begin by the ties and draw a swooping line up toward the top of this head. This is the wing. |
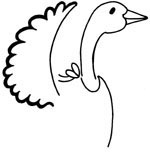 12. Now, add feathers to the wing. Draw a series of loops to make his wing. |
 13. Draw a swooping line that reaches up, almost to his beak. |
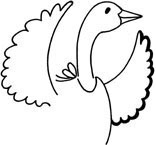 14. Begin at the top of this line and draw loops until you run into his duck tummy. |
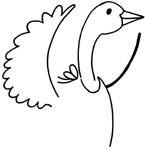
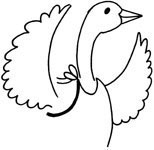 15. Draw a curve that begins at the ties and curves under the wing. |
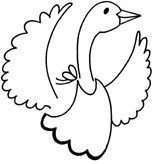 16. Make four deep loops, pocket tops, connecting the two open ends of his apron. |
NEXT
MORE PENCIL-PAPER TOPICS